
SMART Robotic Surgeon ™ | Tracked Instrumentation Assembly for MAKO Knee
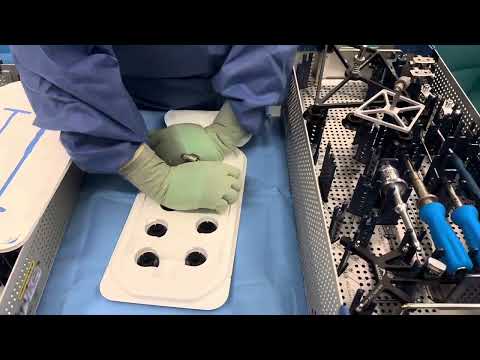
This 3-minute video demonstrates the preparation and assembly of the tracked instrumentation arrays required for a Stryker MAKO robotic knee procedure.
Here is the step-by-step breakdown of the assembly process shown in the video:
-
Setup & Unboxing: The surgical tech lays out the MAKO Knee Tray and the MAKO Power Tray, opening the sterile packaging for the Stryker MAKO Vizadisc Knee Procedure Tracking Kit.
- Robotic Arm Array: The tech attaches four optical tracking discs (Vizadiscs) to the large, black robotic arm array structure.
- Knee Femoral Array: A smaller triangular array, designated for the femur bone tracking, is assembled next by attaching four optical tracking discs.
- Knee Tibial & End Effector Arrays: The tech then sets up the remaining tracking arrays, including the Knee Tibial Array and the End Effector Array, ensuring all optical trackers are tightly pressed down with no gaps in between to maintain exact camera tracking orientation.
- Probes & Verification: The final step involves attaching the tracking discs to the blunt probe and sharp probe instruments before displaying the complete, organized layout of the standard MAKO Partial Knee Arthroplasty (PKA) tool configuration.
The entire assembly ensures that the MAKO robotic system's optical cameras can track the position of the bone and instruments dynamically throughout the surgery.